Projects
This section is used for create/edit projects.

With Help of this section you can do below things,
- Create New Project
- Edit Existing Project
- Delete Project
- View Assets Details
- View Project Details
- View Project Summary
- View Project Detail Summary
- Manage Project Related Documents
- Manage Gallery of Projects
To Create/Edit Project:
Simply goes to Left panel=> Projects Management =>Projects => Add Project
Then need to fill up below information,
Project Information Section:
In this section user need to enter basic project related information
Project Name: This is compulsory field into which user need to enter name of project.
Project Type: In project type need to select which type of project is developing for Ex. Bungalow Type Resident, Commercial Complex, Doctor House, Farm house, Residential complex Tenements and if your type is not available here then you can add it in Masters->Projects Type.
Build up Area: In this field need to enter build up area.
Per Square Feet Price: In this field need to enter amount for per square feet and this amount will be used in sales process to calculate final amount.
Approx Project Budget: In this field user has to enter approximate project budget.
Amenities: In this field user has to choose which amenities provide in this project, user can choose multiple amenities.
Project Details: In this field user can enter basic details about project.
Starting Date: In this field user can enter project start date.
Approx End Date: In this field user need to enter approximate end date of project.
Contact Information Section
In this section user need to enter contact person related information.
Contact Person: This is compulsory field in to which user need to enter name of the contact person.
Address 1: In this field user need to enter address of construction site.
Address 2: In this field user can enter more detail about address.
City: This field contains city name of project.
State: This field contain state name of project.
Zip Code: This field contains Zip code/Area code of project.
Country: In this field user has to choose name of the country.
Phone: In this field user can enter phone number of project office.
Mobile 1: This field contains mobile number of contact person.
Mobile 2: This field contains alternative mobile number for contact person.
Extra Information:
In this section user need to enter project related other important information.
In Project Extra Details boxes user can give some specifications about current project.
Project Construction Status: In this field user can choose construction status of the project like 10%, 50%, 70% etc. User can add more status in Masters-> Constructions Status
Project Booking Status: User can choose current booking status for project like, Pre-Booking, Booking Started and Booking Completed.
User can add more status in Masters-> Bookings Status. If booking status is Booking Completed then this project will not come in sales.
To Delete Project:
You are allowed to delete project only if any project assets are not assign to it and you can do it in project listing with
To View Assets Details:
We can see all assets added in project easily with

To View Project Details:
You can view Project’s detail with

To View Project Summary:
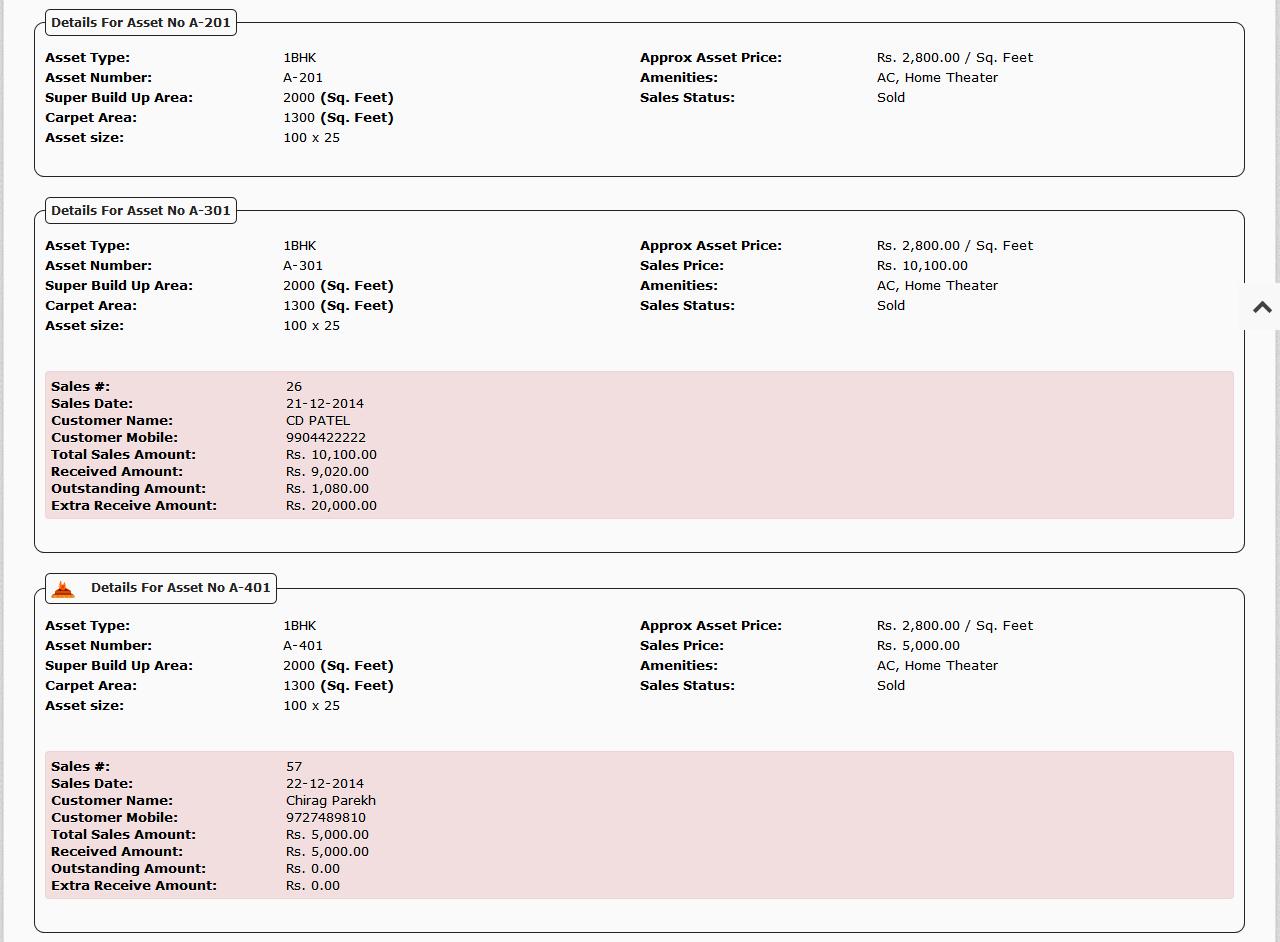
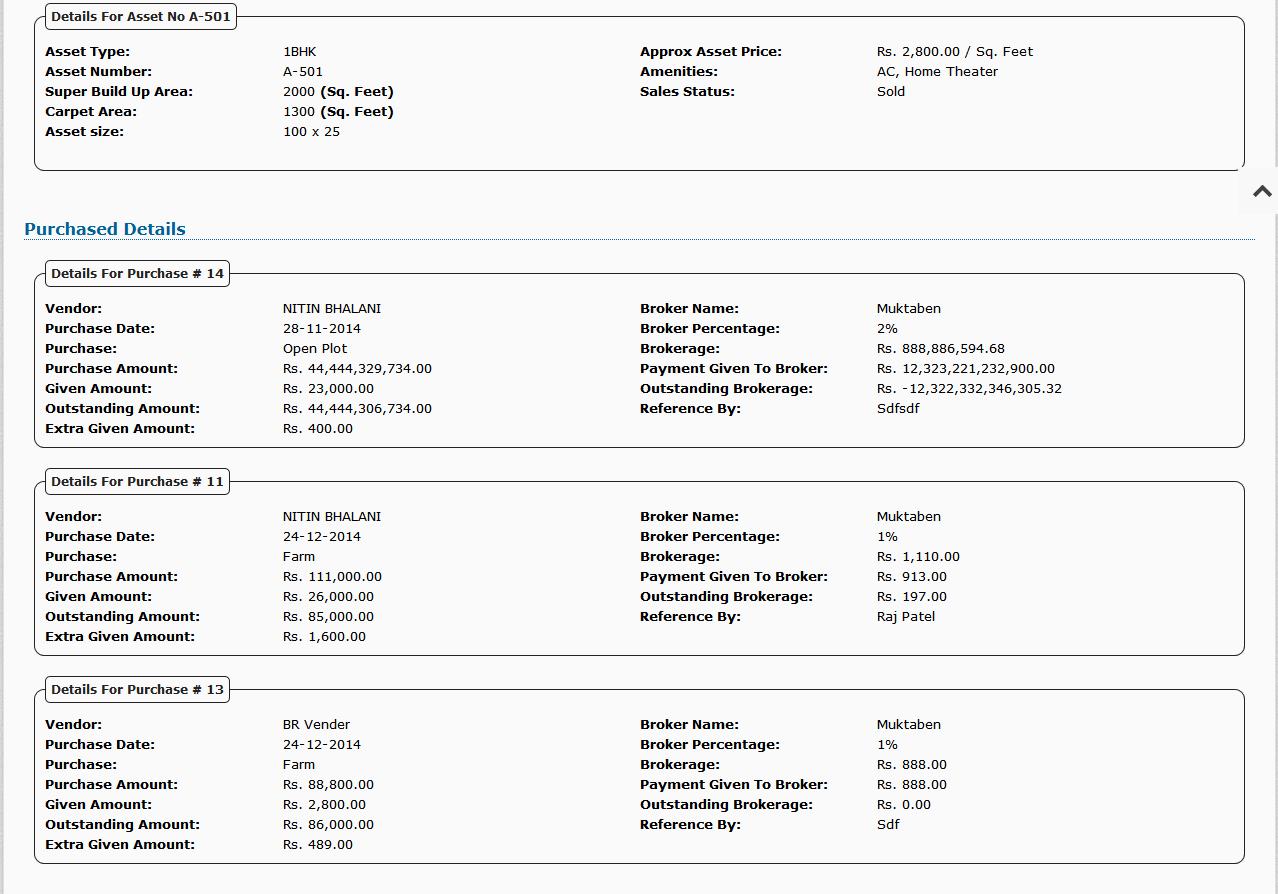
This is one of the very important reports for sales department, with help of this report we will know full detail of full project in very short time. Below information can easily get with this report.
- Basic project Details
- All Partner Details
- All Asset’s details
- If Asset is sold then it’s customer’s detail and also it’s received payment and outstanding payment detail
- Purchase detail and also it’s payment’s details
- Loan’s Details
- Product Purchase Details
- Product Sales Details
- Production Details
- Expense Details
- Income Details


To View Project Detail Summary:
This is one of the very important reports for management with help of report any partner will know full detail of full project in very short time. Below information can easily get with this report.
- Basic Project Details
- All Partner Details
- All Asset’s details
- If Asset is sold then it’s payment and outstanding details
- Total Outstanding Amount Details
- Total Payment Received Details
- Purchase detail and also it’s payment’s details
- Loan’s Details
- Product Purchase Details
- Product Sales Details
- Production Details
- Expense Details
- Income Details
.JPG)
To Manage Project Related Documents:
Handling documents is always difficult jobs. And in construction business we need to manage so many documents. With help of this system you can easily manage all your documents.
To Add/Edit Document goes to Left panel=> Projects => then Click on
 , after click on this icon you can see option for add/edit documents and below are field to enter your information.
Select Project: Here select project name for which you are managing document.
Document Type: Here select Type of document is, like dastavej, permission form, NOC letter.
Details: Here enter details about document.
Upload Files: Here you have to upload scan copy of document.
You can anytime easily download any document with below mention icon.

To Delete Document goes to Left panel=> Projects => then Click
To Manage Gallery of Projects:
You can easily create gallery for your projects with help of this section which you can easily play in your computer.
To Add/Edit Gallery goes to Left panel=> Projects => then Click on
 , after click on this icon you can see option upload images and edit/remove existing images.
To Add Image: Simply click on upload images and select images which you want to add in gallery and in caption box enter caption which you want to display with photo. You can also add multiple images with help of
To Edit Image: You can easily change caption for any photos by simply change text below photos and you can also set position for photo by entering proper number in sort order box. So to after make any changes click on “Save Changes” button.

To Delete Image: You can easily remove any image by simply click on
To Upload: Simply click on Upload button at top.
View Gallery: Simply click on View Gallery button at top.


